
This post may contain affiliate links. Please read our disclosure policy.

Guess what!!???
I bought my first ever Christmas tree. I mean, I had Christmas trees growing up but this is the FIRST TIME in my adult life that I have ever bought my own tree. It’s one of those things that I’ve thought about doing for the past 10 years but every year there was a new excuse that typically had to do with me being too poor (/cheap) to afford a tree PLUS all the stuff that goes on it.
But not this year! Yesterday Stephen and I drove ourselves to a Christmas tree lot in the pouring rain, the same Boy Scouts run Christmas tree lot that Stephen worked at growing up, and bought ourselves a 7′ tree and a wreath for the front door. This is after I spent 4 hours on Saturday shopping for nothing but tree decorations. I may have gone a little overboard.

I didn’t buy quite enough lights but we were too impatient to wait so we just worked with what we had and I LOVE it. You can’t really see in this picture but the tree is basically covered in every woodlands creature imaginable because apparently thats what I’m in to? Or, it’s what Target said I should be in to and I didn’t fight back.

It’s worth noting that this ^^^^^^ is my cart only about 1/3 full of all the junk I bought for this tree. I have a total of ZERO regrets about all of this. I also have zero regrets about the multiple (large) cups of hot chocolate that I consumed while decorating last night.
Another interesting tid bit about our tree: we anchored it to the wall in the back. You can’t really see it, luckily, but it’s there. Before starting the decorating, the tree fell over about 3 times no matter how hard we drilled it into the base. SO, because we’re the kind of people who like to take extra precautions, we tied a rope around the tree and then anchored it to the wall. I feel safe knowing that it is not going anywhere. I am, however, worried that the dogs are going to pull all of the seemingly tiny chew toys (aka ornaments) off of the tree and destroy them. I’ll keep you updated.

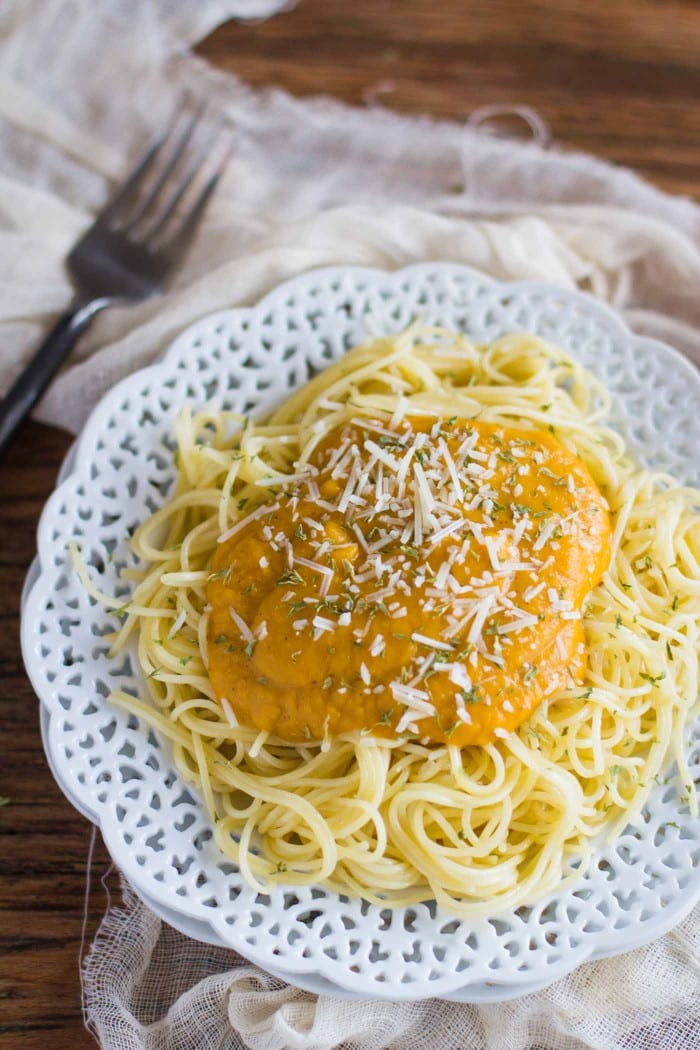
So this pasta sauce. All you really need to know is that 1) IT’S DELICIOUS and 2) IT’S SO EASY! I know I say that a lot….I just really like easy delicious things, what can I say?

Also, I just don’t really get why tomatoes have a total monopoly over pasta dishes. There are plenty of other liquified veggies out there (but, are tomatoes really veggies?) that taste wonderful on top of pasta. Like this Butternut Squash Pasta Sauce. Super yummy! So creamy! Tomatoes, you can have pasta in the summer, squash will take it in the fall.

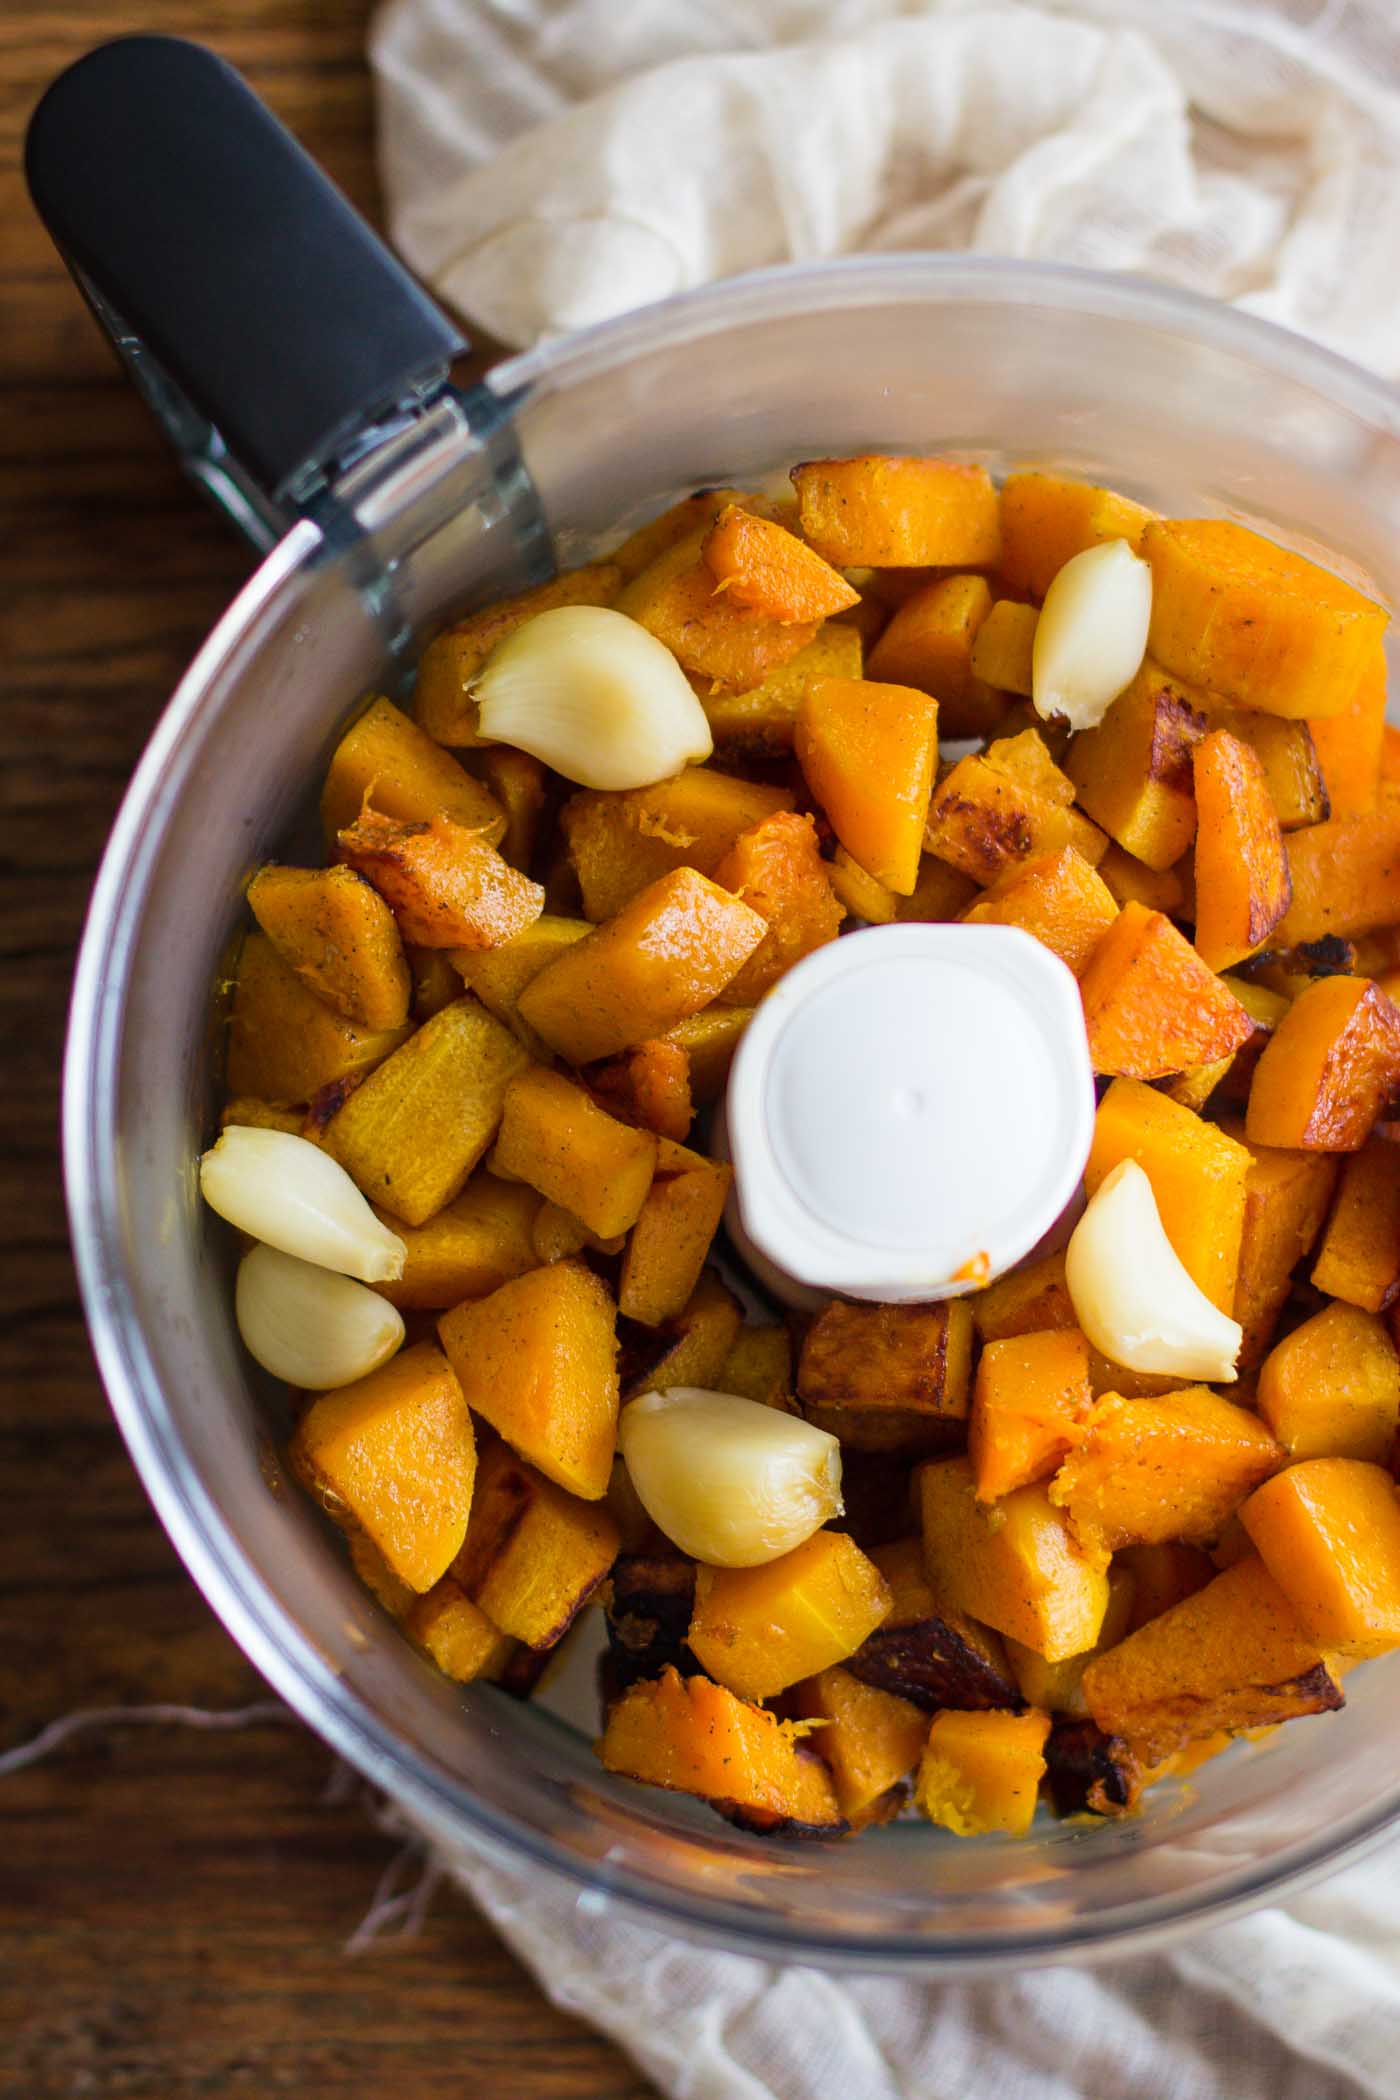
Your butternut squash is peeled, diced, and roasted in the oven covered in a tiny bit of olive oil, sea salt, and dried sage.

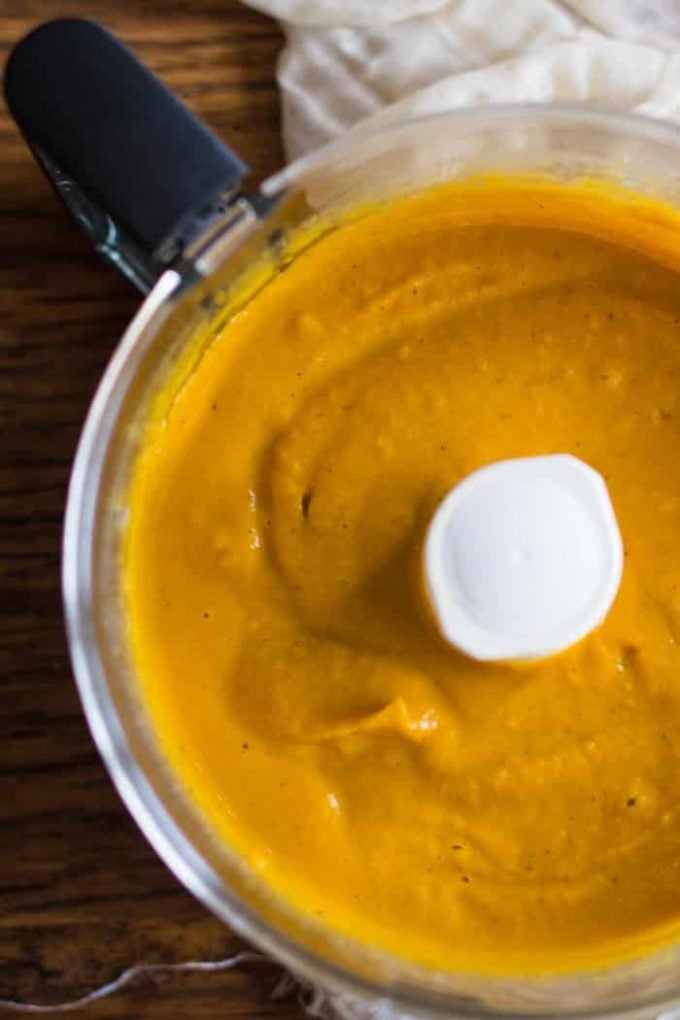
It’s then blended up with some roasted garlic and eventually a bit of almond milk.
The result is a super creamy sauce that’s the same consistency of pasta sauce and perfect for any kind of noodles!
Make in a big patch and then store the leftovers for use later. It can even be frozen to keep it good longer.

Needless to say, I’m a pretty big fan of butternut squash pasta sauce. I might even be eating it for lunch today. Who knows?
What other veggies taste good in pasta sauce form??
Butternut Squash Pasta Sauce

Ingredients
- 1 butternut squash, ~1 1/2 pounds, peeled, deseeded, and cut into 1 inch pieces
- 1 tablespoon olive oil
- ½ teaspoon dried sage
- 5 cloves garlic
- 1 ¼ cup almond milk, unflavored (can use other non flavored milk if desired)
- S&P to taste
Instructions
- Pre-heat oven to 375 degrees F. Line a baking sheet with foil.
- Place the squash chunks and cloves of garlic on the baking sheet, drizzle with the oil, and sprinkle over the sage. If desired, sprinkle with salt and pepper. Gently toss to coat.
- Bake for 40 minutes, tossing halfway through, or until the squash is tender and easily pierced with a fork. Once done, let cool slightly.
- Place the squash and garlic in a high speed blender or food processor and blend until creamy. Add in the milk and blend to combine. If desired, you can add in a bit more milk or even water if you wish for the sauce to be a bit thinner.
- Season to taste with additional salt and pepper.
- ENJOY!!
Nutrition
Nutrition information is automatically calculated, so should only be used as an approximation.


Can you jar this sauce for a few months?
Came across this recipe and modified it jusssstttt a tad….I had frozen butternut squash and followed the directions to roast them…added garlic and S/P and then the magic ingredient: coconut milk. OMG this is my new fave pasta sauce!!! Hubs loved it and made enough for his lunch and then some! I want to put this stuff on everything!
YAY!! SO glad that you liked it! I was actually planning to make this sauce again soon bc I haven’t made it since last year! Love that you used coconut milk! I’ll have to try that!
Beautiful tree and it’ll be interesting to see if Lexie and Zorro see it as a buffet table!
This looks INCREDIBLE!! Definitely have to try this. Your photography is gorgeous!! Also, super jealous of your Christmas tree. I might just have to buy my first one this year too!
xo
MacKensie
http://www.onetonothin.com
Thanks MacKensie! That means a lot. I’m super obsessed with this sauce right now