This post may contain affiliate links. Please read our disclosure policy.
Thank you to Chicago Metallic for sponsoring this post. They’re a long time sponsor of Food with Feeling and half of what I own in my kitchen is made by them because I love it all so much! Thank you for supporting the brands that make my blog possible.

I hope you aren’t sick of holiday baking yet because I still have a few amazing holiday recipes coming your way!
This is one of my last posts this year in partnership with Chicago Metallic and I LOVE how this one turned out. I was honestly a little skeptical of their Slice Solution Pan at first but now I’m a HUGE fan. It’s fun to use and makes everything so so easy!
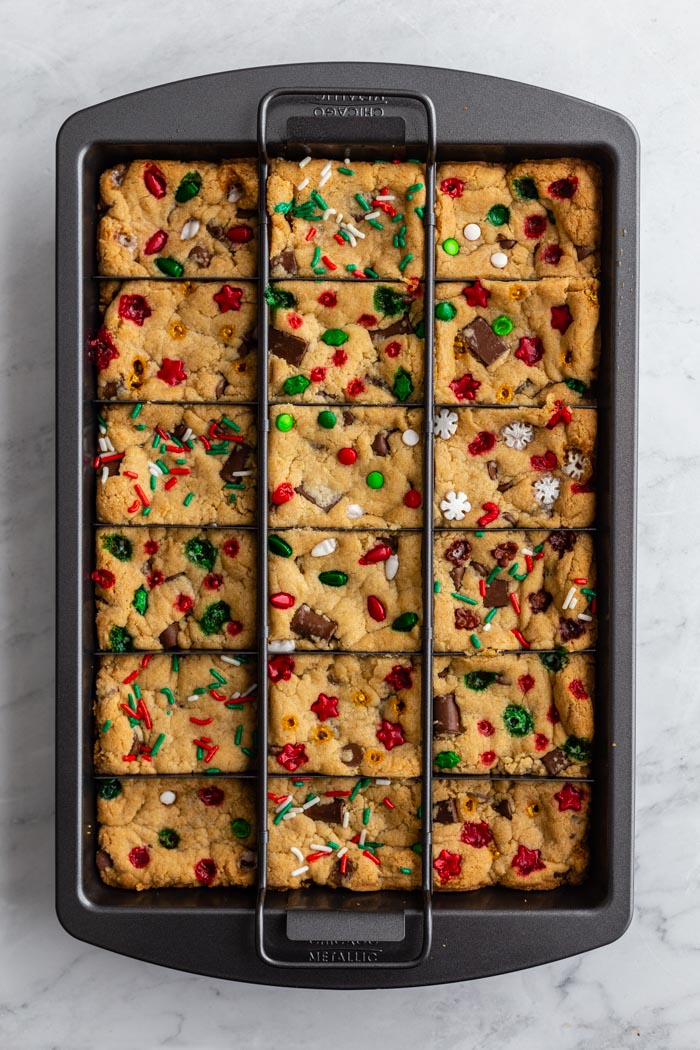
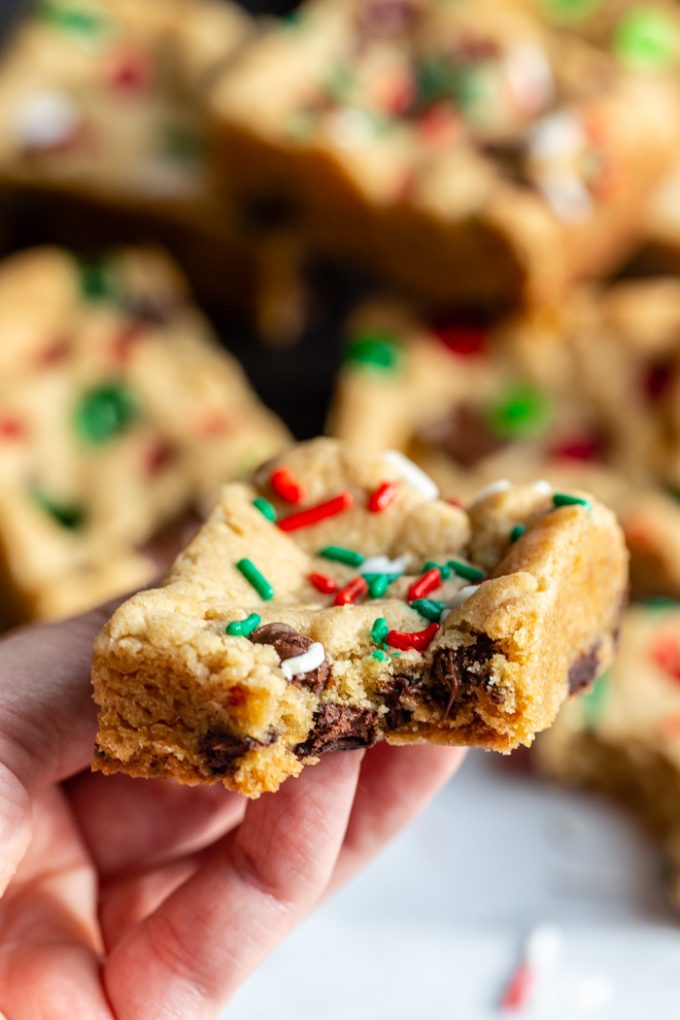
This pan is technically a brownie pan BUT I figured that I would do something a little bit different in the form of these chocolate chip cookie bars! Although, my vegan brownie recipe WOULD be pretty amazing in this pan as well :)
The ability to easily slice the bars using this pan is pretty amazing but what I like EVEN MORE is the tray that lifts right out of pan. It makes grabbing the bars SO EASY and nothing sticks even in the slightest. I’m a huge fan.
You can check out my video up above to see exactly how the pan works!
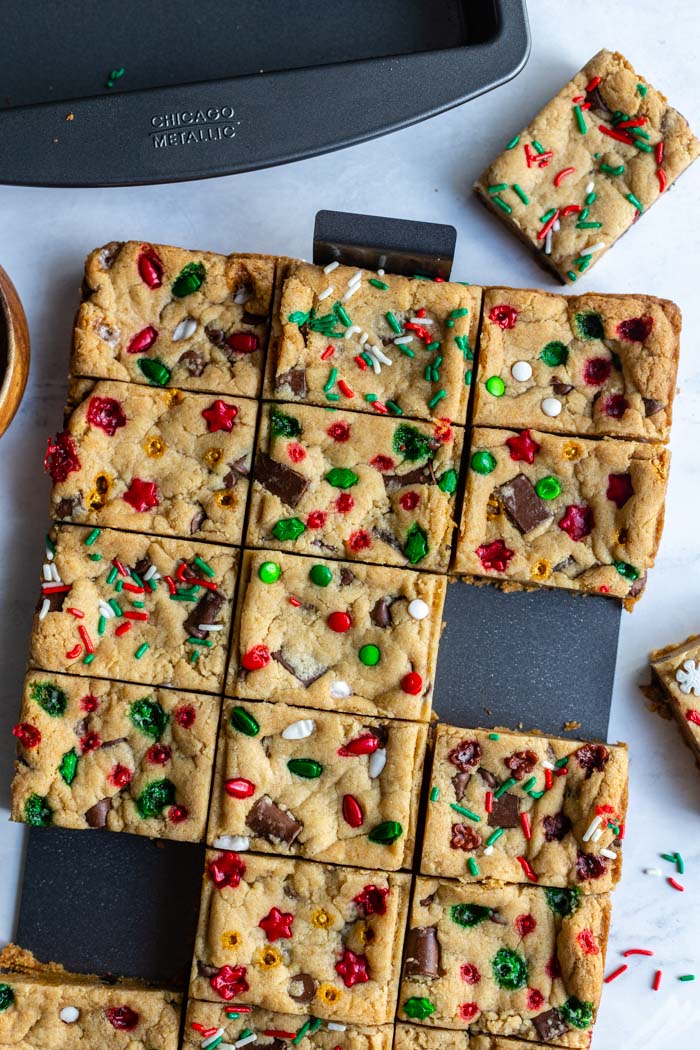
It’s super easy to make these cookie bars! EVERYTHING comes together in the bowl of a stand-mixer (but you can also use a hand mixer if you prefer). There’s no chilling of the dough or anything like that! Simply mix the wet ingredients, add in the dry and then fold in the chocolate.
From there, it’s a simple matter of pressing the dough into your greased pan and baking for about 20 minutes.
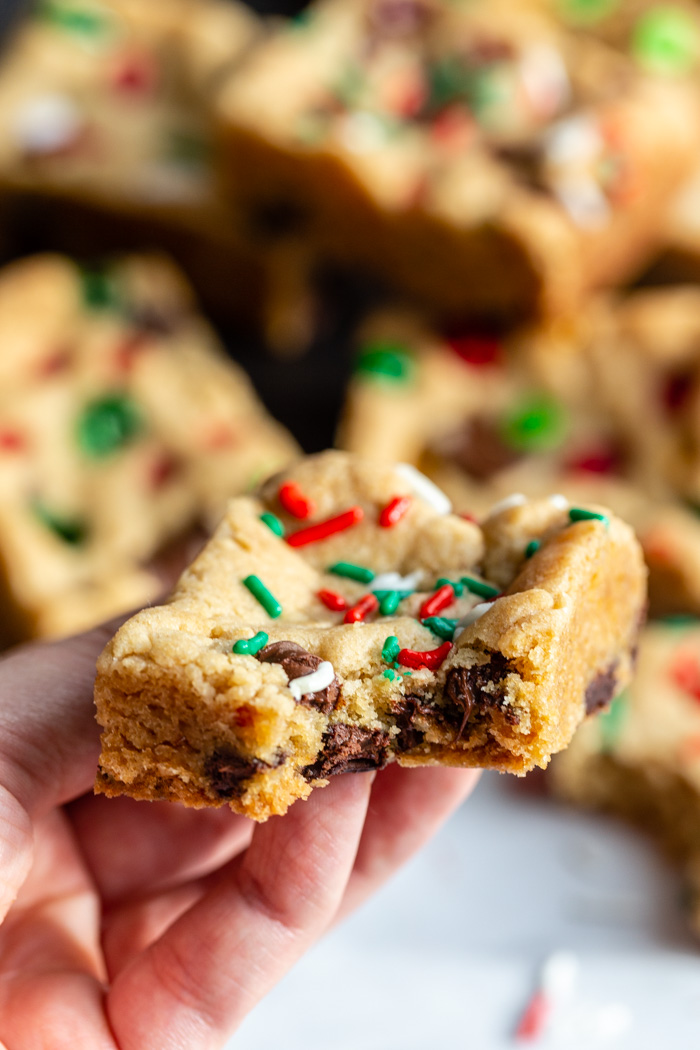
ALRIGHT that’s it for today! As always, if you end up making this recipe, please snap a quick photo and tag me on Instagram @foodwithfeeling! I always LOVE to see what you’re making from the blog.
Chocolate Chip Cookie Bars
Ingredients
- ¾ cup of vegan butter, 8 tablespoons, softened*
- ¾ cup of light brown sugar, packed
- ¾ cup of white sugar
- ⅓ cup of plant based milk, at room temperature
- 1 ½ teaspoon of vanilla extract
- 3 cups of all purpose flour*
- 2 ½ teaspoons of baking powder
- ¾ teaspoon of baking soda
- 1 teaspoon of salt
- 1 cup of vegan chocolate chips, additional for topping (For this skillet, I like to use a combo of chips and chunks of chocolate!)
Instructions
- Pre-heat the oven to 350 degrees F and grease a 9x13 inch baking pan with butter or cooking spray (see not above for the specific one I'm using from Chicago Metallic).
- In a stand mixer using the paddle attachment (you can also do this in a large bowl with a hand mixer), cream together the butter, sugar, and brown sugar. Once fully combined, add in the milk and vanilla and mix until just combined. The mixture will look a little curdled but it’s okay!
- Add in the four, baking powder, baking soda, and salt and stir until just combined. Fold in the chocolate until mixed in. The dough will be a little sticky but should not stick to your hands excessively. If it’s too sticky, mix in a little extra flour.
- Pour the dough into your prepared pan and spread it out so that it’s evenly in the skillet. Pat the edges down a little so everything is as even as possible. Optional to top with sprinkles of choice (sprinkles are mandatory in our house).
- Bake for 20-25 minutes or until the cookie bars set, puffed up around the edges, and just starting to get a golden brown color.
Notes



I absolutely love baking. However my family is a little special :). I have a vegan son, vegetarian granddaughters and daughter in law, and a granddaughter with food allergies.
I saw this recipe and gave it a try, sorry, forgot to take pictures. I was so amazed of the texture of the pan cookie, I would actually say the texture was the same as my pan cookies with eggs and standard butter. They went over great!
If anyone is hesitating making a vegan cookie (I have made others and they have NOT turned out even close to this one), don’t hesitate, this is a winner of a recipe that I will make again.
I am excited to try some of your other recipes in the future.
I only have an 8 by 8 inch pans. Could I use the one or maybe two of them instead? Thanks in advance
yes that will work to use 2 of those! They might end up a little thinner and need less bake time so I’d watch it. If you have a casserole dish, that would also work well
Is the dough supposed to be crumbly after we combined all the ingredients together? Because for me it was
it’s a little crumble but should easily hold together when rolled into balls. If not then add a little more milk to it
3/4 cup of butter should be 12 tablespoons… so should I use 8 or 12?