
This post may contain affiliate links. Please read our disclosure policy.

In our family, grandma actually goes by “Nanny” or sometimes “Nana” to the younger grandkids. I couldn’t tell you why we call her this or who started it but it’s what she’s called and I like it.
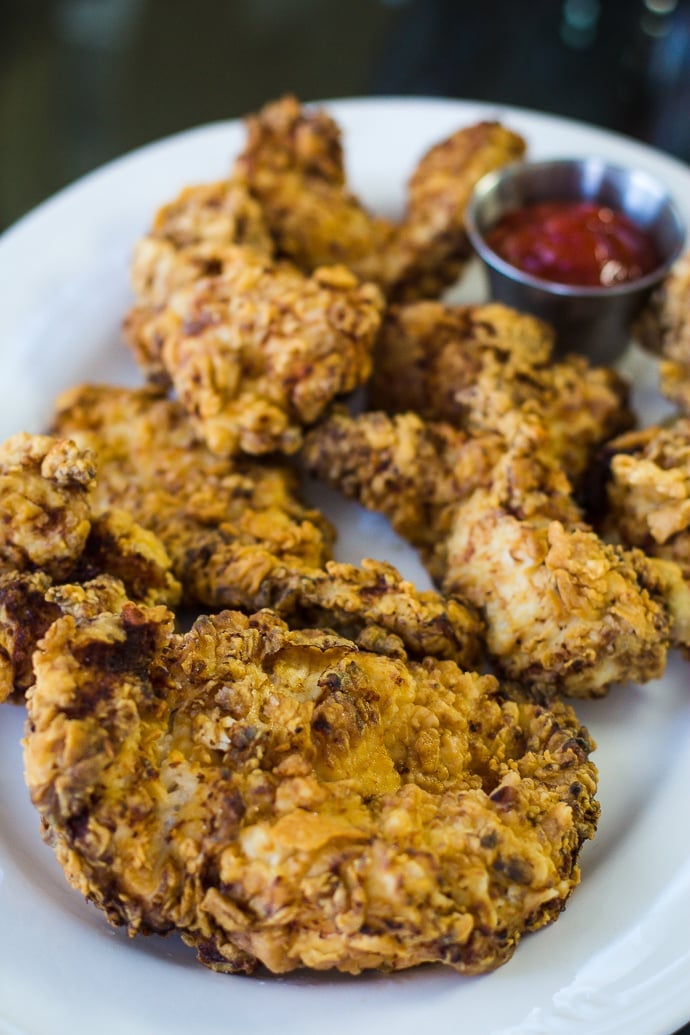
I also really (really) like her cookin’. Nanny is your typical girl raised in the south (Georgia to be exact) who loves grits, sweet potatoes, fresh tomatoes sprinkled with salt and eaten raw, and of course, fried chicken. Her grandchildren also love her simple fried chicken. My brother especially asks for this chicken on a frequent basis and eats it with an abnormally large side of ketchup.
And as my brother often does, I asked Nanny if she would make this chicken for us.
Remember last year when I said I was going to do a recipe tour but never actually made it past my mother-in-law’s house and the pavlova? Well, this is my attempt to revive the recipe tour. Let’s hope I keep it going this year :)

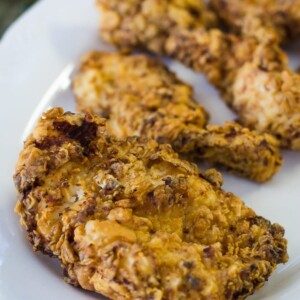
Turns out, Nanny’s Simple Fried Chicken recipe is SUPER easy and besides the chicken and a bit of S&P and the oil for frying, it only requires 2 other ingredients.
She starts by soaking the chicken in buttermilk for a few hours.

After a good soakin’, the chicken is removed, one piece at a time, and thoroughly coated in a simple flour mixture.

The coated chicken is then placed in the fryer until completely cooked through. I HIGHLY recommend investing in a simple (and cheap!) meat thermometer if you don’t already have one. It takes the guessing game out of when your meat is soaked through properly and I use mine pretty much every single day. For chicken, you want it to be cooked to 165 degrees F throughout for optimal done-ness.

And if you don’t have one of these handy little fryers then you can still very easily cook the chicken in a dutch oven filled a little less than half way with oil heated to 350 degrees F (again, this is where your meat thermometer would be handy!).
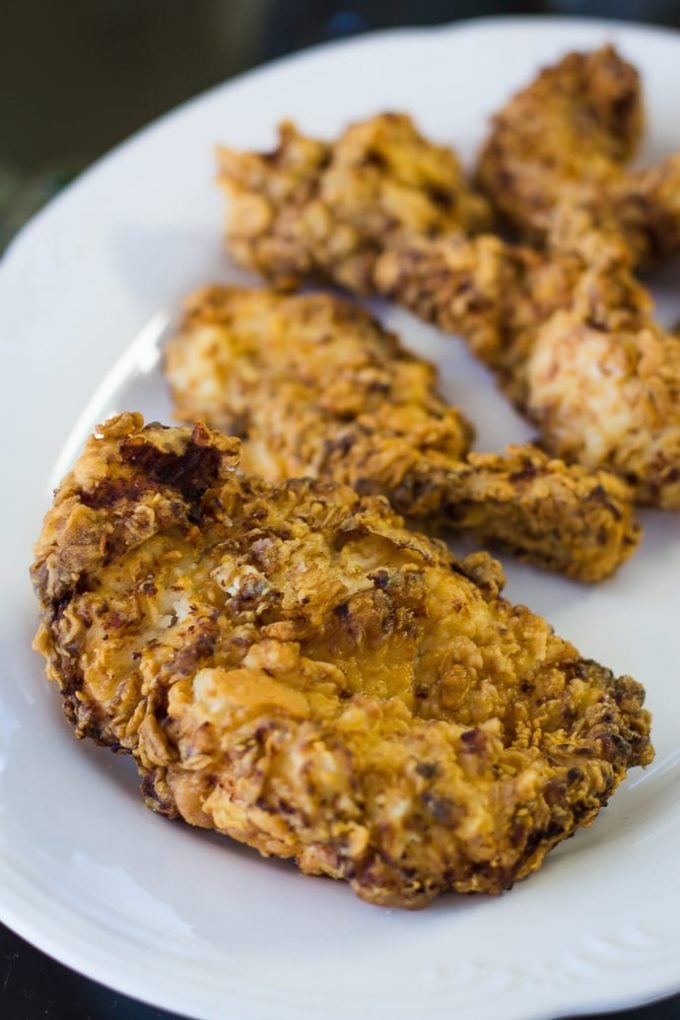
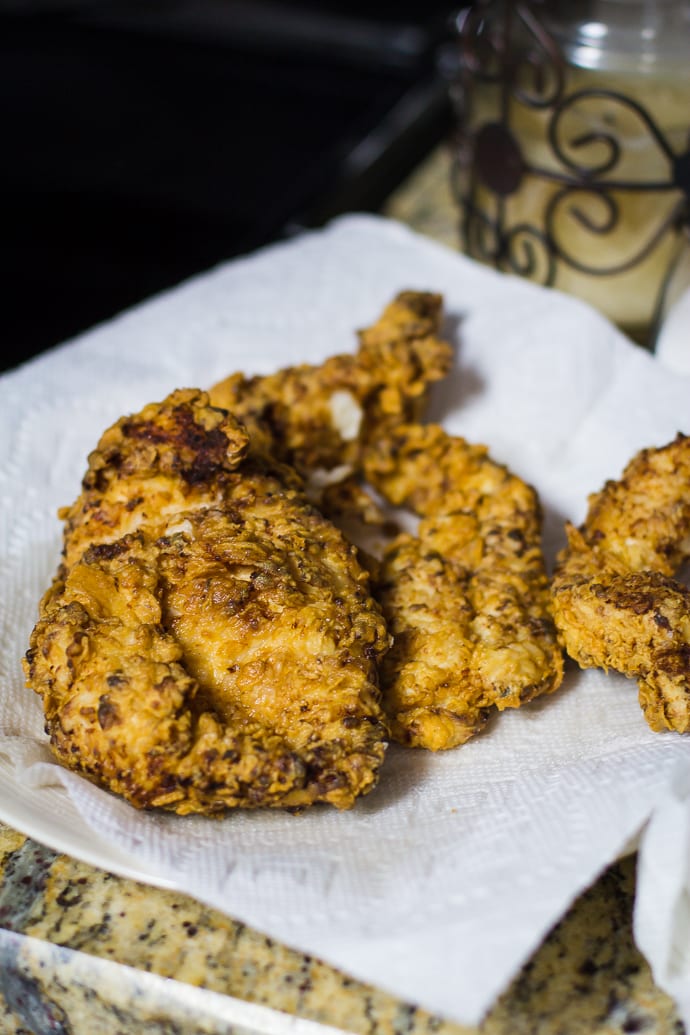
The chicken is then placed on a paper towel to cool a bit before it’s served.
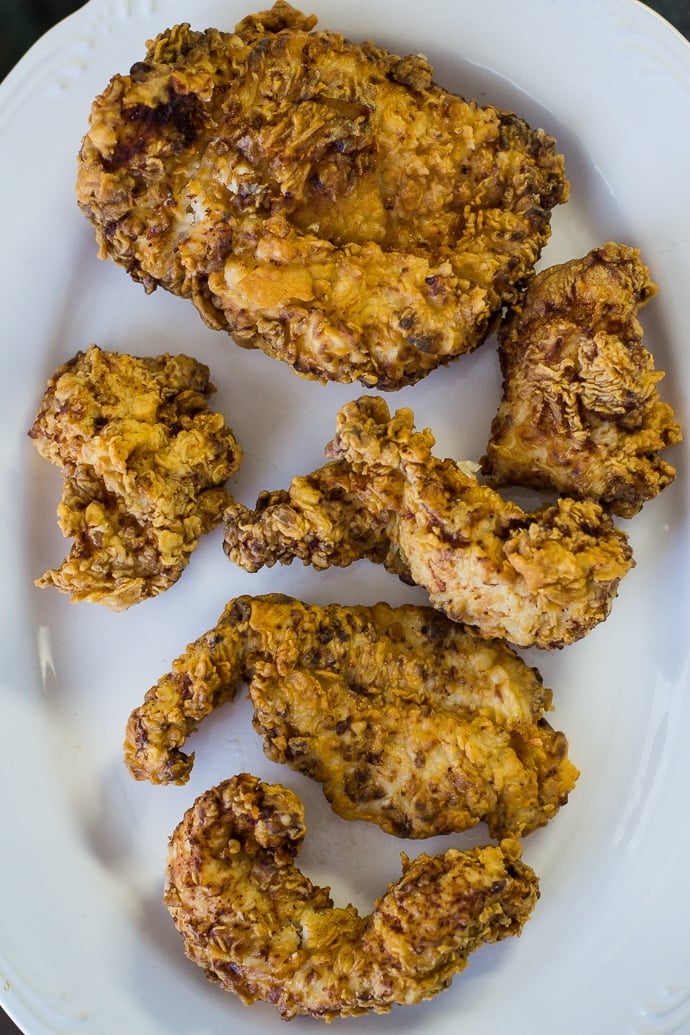
This method works well with any cut of chicken. My grandmother most often does chicken breast cut into smaller pieces. It’s much easier this way but again, other chicken would work just fine.
What’s your favorite recipe from your grandma?? Have you ever tried making it yourself??
Grandma's Simple Fried Chicken
Ingredients
- 4 large chicken breasts, cut into strips
- 1 pint of buttermilk, about 16 ounces
- 2 cups of all purpose flour
- 1 tablespoon of salt
- 1 tablespoon of pepper
- Vegetable or canola oil for frying, about 2 quarts or until your pot is half full but no more
Instructions
- In a large baggy or large bowl, let the chicken strips soak in the buttermilk. Make sure that your contain is covered/ sealed and placed in the fridge for an hour and a half.
- Take out of the fridge and let sit on the counter for an additional 30 minutes. You don't want the chicken to be too cold or else it will lower the temperature of the oil and it will not cook properly.
- Heat your oil according to your fryer instructions. If you're using a dutch oven, heat your oil to 350 degrees F.
- In a shallow bowl, whisk together the flour, salt, and pepper.
- Take the strips of chicken one at a time, dip them in the flour mixture so that they are thoroughly coated. Place in the frying oil and cook for 4-5 minutes each or until completely done. Check for doneness with a meat thermometer making sure that the chicken is cooked through to 165 degrees F. If you do not have a thermometer, You can cut one of the strips open to make sure it's done and that there's no pink left.
- Let the fried chicken rest on a paper towel to cool for about 5-10 minutes before serving.
- ENJOY!!
Suggested items for this recipe:
Disclaimer: This post contains Amazon affiliate links which help support this blog at no extra cost to you!


I dare not show this to Richard because he’ll either nag me or you to make it for him!