This post may contain affiliate links. Please read our disclosure policy.

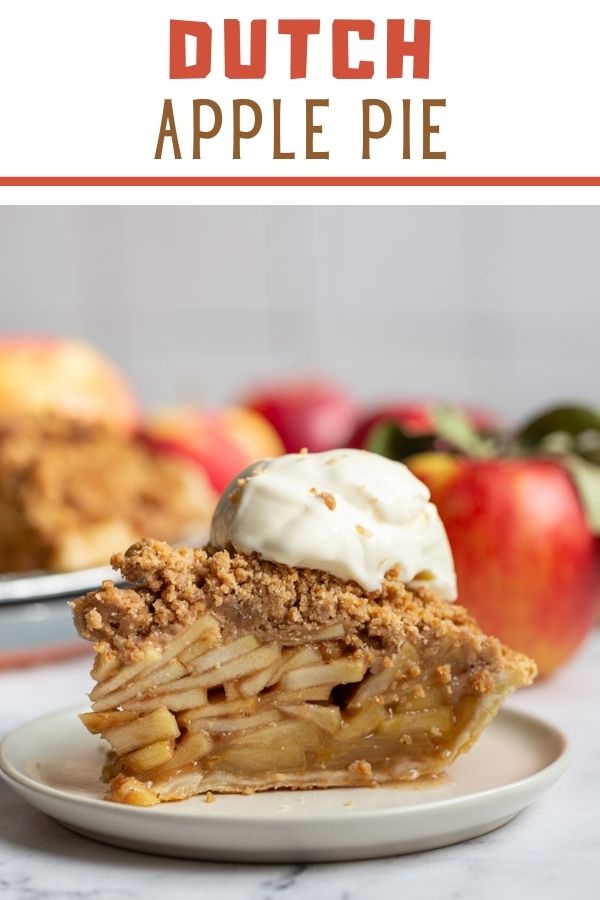
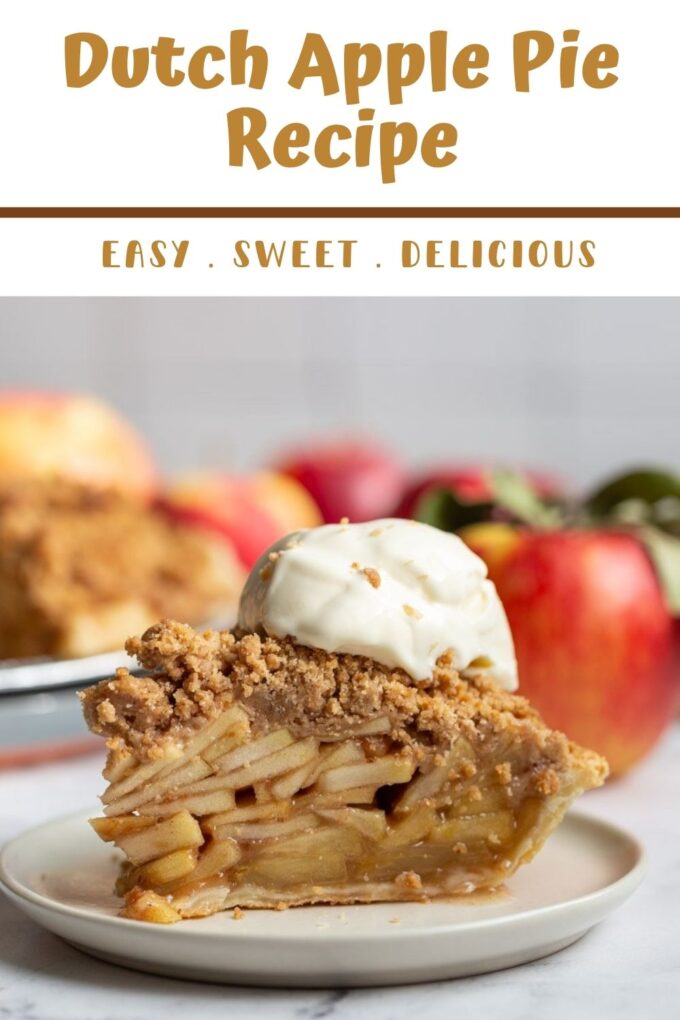
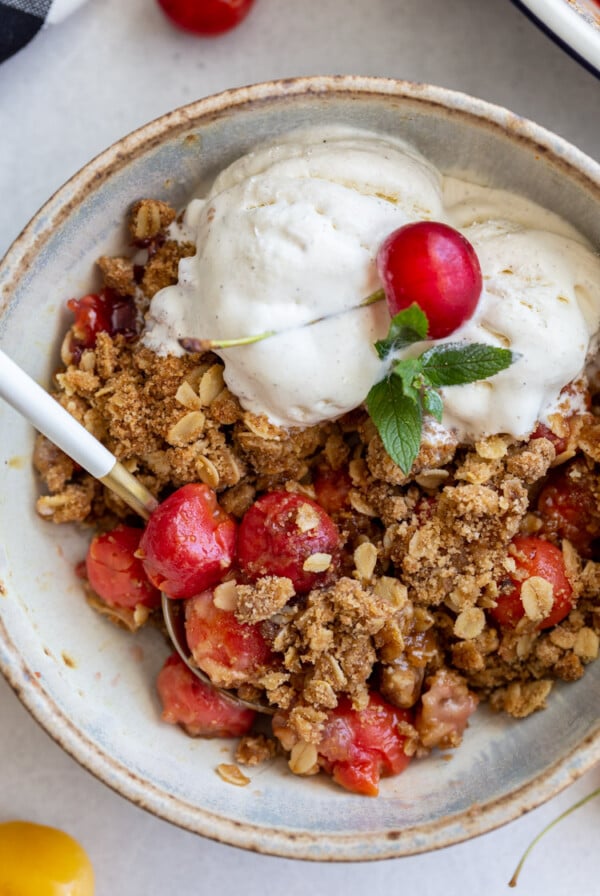
Our absolute favorite Dutch Apple Pie is made with spiced apple filling nestled on top of a flaky crust and covered with a buttery streusel crumb topping. This pie recipe is perfect for the holidays or anytime and is sure to be a crowd favorite. Serve warm with a scoop of vanilla ice cream for the ultimate dessert.

This Dutch Apple Pie recipe is the perfect way to enjoy fall flavors and fresh-picked apples this season! If the thought of making an apple pie intimidates you, it’s because you just haven’t found the right recipe yet! This apple pie recipe can easily be made with a store-bought pie crust (shh, don’t tell!), and topped with a rich, buttery crumble that’s totally irresistible.
What is the difference between Dutch apple pie and regular apple pie?
This recipe is meant for all the streusel topping lovers out there, like me! Truly the only difference between your traditional apple pie and a Dutch apple pie is the topping. A Dutch apple pie is simply an apple pie with a crumb or streusel topping, as opposed to a pastry crust topping. Call it what you want – Dutch apple pie, apple streusel pie, apple crumb pie… it’s delicious no matter what!

Ingredients for Homemade Dutch Apple Pie
Not only is this apple pie absolutely delicious, but it uses simple baking ingredients that you likely have on hand. Here’s everything you need:
- Pie crust – You can definitely use a homemade pie crust! HERE is a link to my classic vegan pie crust and HERE you can find my coconut oil pie crust. I often use a store-bought frozen crust for this pie because it comes together SO quickly and always turns out great!
- Apples – Use an apple that will stand up to baking. More suggestions on what type of apple to use, below. I like to use a mix of Honeycrisp and Granny Smith apples in my pie for a nice balance of sweet and tart.
- Lemon juice – This brightens the flavor of the apple filling and reduces browning of the apples.
- Sugar – We’re using a mix of granulated sugar and brown sugar to sweeten the apple pie filling and brown sugar for the crumb topping.
- Spices – A combination of cinnamon and nutmeg pairs wonderfully with the apples and gives the pie a warm, cozy flavor.
- Butter – You’ll need melted butter for the streusel topping. Feel free to use a vegan butter of your choice.
- All-purpose flour – A quarter cup of flour is added to the filling to thicken it up and you will also need flour for making the crumb topping.


Best Apples for Apple Pie
Firm, crisp apples work best for making apple pies. I like to use a mix of apples for a delicious balance of sweet and tart. My favorite two types of apples I like to use in this apple pie recipe are Granny Smith and Honeycrisp. These two varieties complement each other wonderfully with varying levels of sweetness and different amounts of tartness. A few other apples that work well in apple pie are: Pink Lady, Jazz, Gala, Braeburn and Fuji apples. If you would like to just use one type of apple for your pie, I recommend Honeycrisp for a sweeter pie and Granny Smith for a more tart pie.
How to Make a Dutch Apple Pie
This apple pie is seriously SO easy to make! The most time consuming part is prepping the apples. Here’s the simple process, but for the full, printable recipe, reference the recipe card at the bottom of the page.
- Prep crust and apples. Whether you’re using a homemade pie crust or store-bought, prepare it and put it in the fridge to chill. Preheat the oven and peel, core and slice your apples.
- Make apple filling. In a large bowl, mix together the apples, lemon juice, sugar, brown sugar, flour, cinnamon, and nutmeg. Set aside while you make the topping.
- Make the topping. Mix together the flour, brown sugar, nutmeg, cinnamon and butter until large clumps form. You may need to press the mixture together with your fingers a bit to form larger chunks as desired. Place in the fridge.
- Assemble the pie. Begin by stacking the apples neatly into the crust. Depending on the size of your pie pan, the apples will likely be stacked up pretty high, but they really compact down as the pie bakes and then much more as it cools.
- Add the topping. Sprinkle the crumble topping evenly over the apples.
- Bake. Place the pie on a baking sheet (in case of spillage) and bake for 45-55 minutes.
- Cool and serve. It’s important to let the pie cool completely in the fridge. If you cut into it right away, it’ll be a little runny and won’t hold together as well. Serve with a dollop of whipped cream or a scoop of vanilla ice cream.

Tips for the Perfect Pie
- Apples. Be sure your apples are sliced in similar thickness – about 1/4″ is perfect. Once your pie is baked, you don’t want some solid apples and some thin, mushy apples.
- Remove excess liquid from apples. Tossing the apple slices in sugar will cause excess liquids to naturally release. The longer the apples sit, the better. Then, you’ll want to drain off as much of the excess liquid as possible to avoid making the crust soggy.
- Assembling the pie. The apples will be stacked a little high but as the pie bakes and they soften, they will be compressed down and create amazing dense layers once the pie cools. Also, I recommend spending a few extra minutes to neatly stack the apples in the crust, as opposed to just dumping them into the crust. This avoids pockets or holes in the pie and makes it so that the apples lay nicely in the crust.
- Cooling time. Be sure to allow plenty of time for your pie to cool. I like to place my baked pie in the fridge to speed up the process. If you like your pie warm, simply reheat in the microwave for about 20-30 seconds.
- Topping. The two classic toppings for an apple pie are vanilla ice cream or whipped cream. I personally LOVE this apple pie topped with my cold and creamy vegan ice cream.
Make Ahead
Dutch Apple Pie is a great dessert to make ahead of time, especially if you’re prepping it for the holidays. This pie can be baked up to 2 days ahead of time. Allow it to cool at room temperature, cover tightly and keep at room temperature. After a few days transfer to the fridge to keep fresh.
Storing and Freezing Apple Pie
- To store leftovers. After this pie has baked and cooled completely, store covered at room temperature for 1 to 2 days and then in the refrigerator for up to 5 days.
- To freeze. Baked Dutch apple pie freezes well for up to 3 months. To freeze, wrap the cooled apple pie in aluminum foil and then place it in a freezer bag before storing it in the freezer. Thaw overnight in the refrigerator and allow it to come to room temperature before serving. Reheat at 350 degrees F for 20-30 minutes or until warm.

As usual, PLEASE let me know if you make this delicious Dutch Apple Pie recipe and how you like it! You can come back here and leave a comment or tag me on instagram (@foodwithfeeling).
More simple Desserts to try:
Looking for more delicious dessert recipes, try one of these other favorites next:
Dutch Apple Pie

Ingredients
FOR THE APPLE FILLING:
- 8 cups of apples, peeled, cored, and thinly sliced about 3 pounds of whole apples
- 1 tablespoon of lemon juice
- ¾ cup of sugar
- ¼ cup of brown sugar
- ¼ cup of flour
- 1 teaspoon of cinnamon
- ¼ teaspoon of nutmeg
- 1 prepared pie crust *
FOR THE CRUMBLE TOPPING:
- 1 cup of all purpose flour
- ½ cup brown sugar
- ½ tsp nutmeg
- 1 teaspoons of ground cinnamon
- 6 tablespoons of butter, melted (vegan as needed)
Instructions
- If you haven’t already done so, prepare your pie crust and put it in the fridge to chill while you prepare the apples. I typically make mine in a 9 inch pie pan. Pre-heat the oven to 400 degrees F.
- In a large bowl, mix together the apples, lemon juice, sugar, brown sugar, flour, cinnamon, and nutmeg. Set aside while you make the topping.
- Make the topping by mixing together the flour, brown sugar, nutmeg, cinnamon and butter until large clumps form. You may need to press the mixture together with your fingers a bit to form larger chunks as desired. Place in the fridge.
- Assemble the pie by stacking the apples neatly into the crust. This doesn’t need to be immaculate but I find that the pie turns out best if you arrange the slices as opposed to dumping it all into the crust (see video for reference). Depending on the size of your pie pan, the apples will likely be stacked up pretty high but don’t worry! They really compact down as it bakes and then much more as it cools.
- Sprinkle the crumble topping evenly over the apples. Place the pie gently on a baking sheet (in case of spillage) and bake for 45-55 minutes. Let cool completely and enjoy!