
This post may contain affiliate links. Please read our disclosure policy.

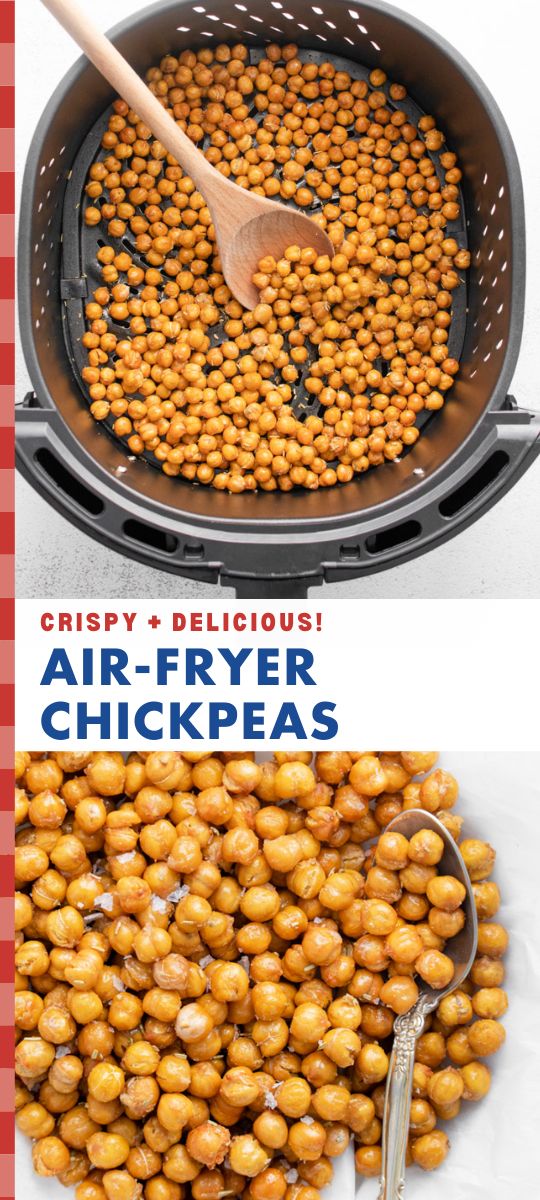
These Air Fryer Chickpeas turn out SO CRISPY and are ridiculously simple to make! They’re great on salads or even enjoyed as a healthy snack.
If you don’t have an air fryer or want more flavor options for these chickpeas, be sure to check out my post on how to make Oven Roasted Chickpeas with 4 different flavor options to choose from!

Why you’ll make this again & again:
- Super crispy & satisfying – Like store-bought crunchy snacks but much cheaper!
- Quick & easy – Ready in just 15 minutes making it great for a quick protein + fiber to add to meals!
- Versatile – Customize with your favorite seasonings.
- Great for meal prep – Perfect for snacking on throughout the week or adding to quick meals for protein.
But first up: these SUPER CRISPY Air Fryer Chickpeas that I’m very obsessed with. I’ve been using them as a salad topper but they’re really SO versatile.
We’re going with a simple and versatile flavoring for this particular recipe. However, I have 4 more flavor options in my roasted chickpeas post if you’re looking for more ways to make them. Since those recipes were written for just ONE can of chickpeas, you’ll need to double all of the ingredients. Alternatively, you can leave them the same and only use one can of chickpeas for this air fryer recipe.
Either will work great!
But if you’re new to crispy chickpeas, I suggest starting with this simple recipe as it’s written below.
How to make Air Fryer Chickpeas
This recipe (as with most air fryer recipes) is SUPER SIMPLE to make!
The full printable recipe is down below but let’s briefly go over it:

STEP #1: Once you rinse and drain the chickpeas, dry them off thoroughly. Toss all of the ingredients in a large bowl until the chickpeas are fully covered.
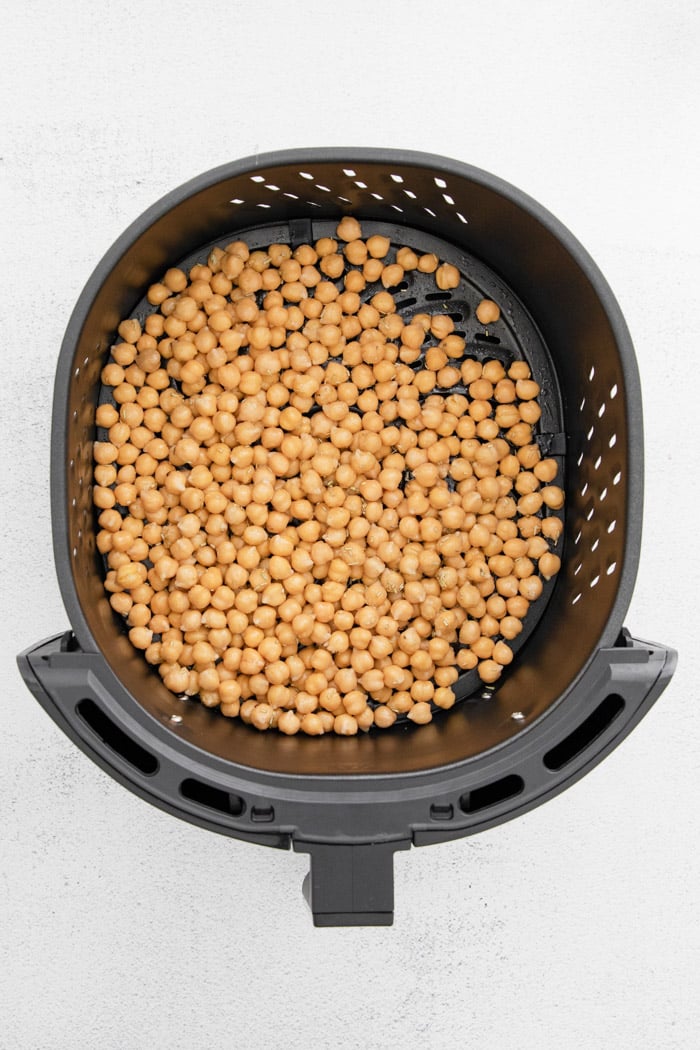
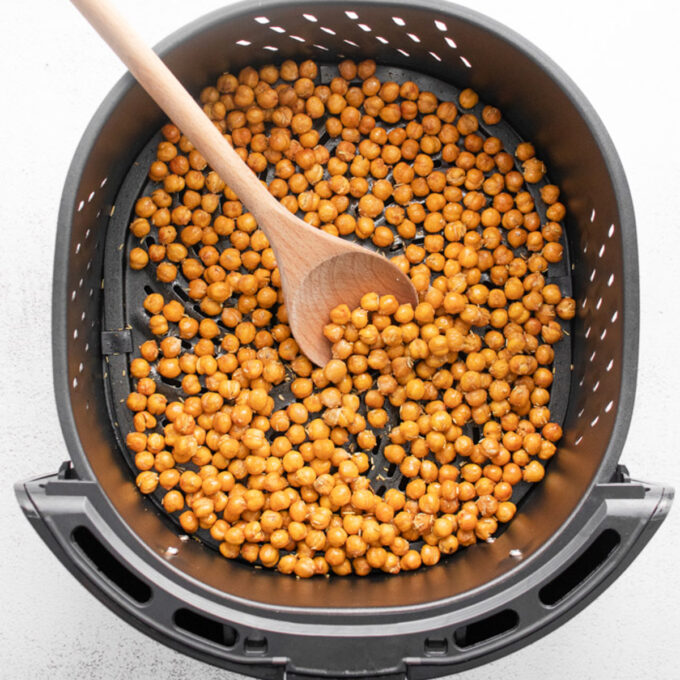
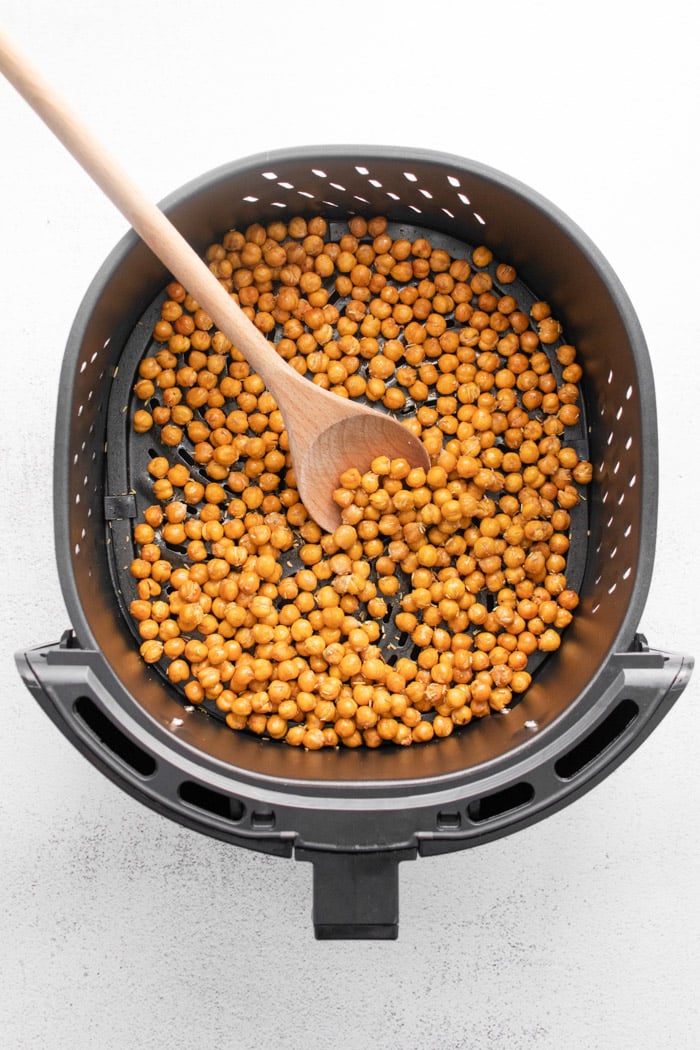
STEP #2: Add them to the air fryer basket that has been pre-heated to 400 degrees F. Air fry for 15 minutes, toss halfway through until the chickpeas have a nice crisp to them.
Expert Tips
- Dry your chickpeas well! Moisture will keep them from crisping up properly.
- Don’t overcrowd the air fryer basket. A single layer works best for even crisping.
- Shake the basket halfway through. This ensures even cooking.
- Want extra crisp? Let them cool completely, then pop them back in the air fryer for 2-3 more minutes.
If you try this Crispy Air Fryer Chickpeas recipe or any other recipe on Food with Feeling, don’t forget to leave a comment and a ⭐⭐⭐⭐⭐ rating below to let others know how much you loved it. Happy snacking!! And don’t forget to tag me on Instagram @foodwithfeeling!
More chickpea recipes you might like:
- Ranch Chickpea Salad
- Curried Chickpea Salad
- Chickpea Stuffed Sweet Potatoes
- Chickpea Noodle Soup
- Sweet Potato & Chickpea Curry
Crispy Air Fryer Chickpeas

Ingredients
- 2 15 ounce cans of chickpeas (aka garbanzo beans), drained and rinsed
- 1 tablespoon of olive oil
- ¼ teaspoon of salt
- 1 teaspoon of garlic powder
- 1 teaspoon of dried rosemary, or other dried herb
Instructions
- Heat your air fryer to 400F degrees.
- After rinsing, thoroughly pat the chickpeas dry with paper towels or a lint free kitchen towel. Add them to a large bowl.
- Mix in the olive oil, salt, garlic powder, and rosemary and stir together until the chickpeas are evenly coated.
- Place the chickpeas in the air fryer and cook for 15 minutes, stirring halfway, or until the chickpeas are crispy and brown.
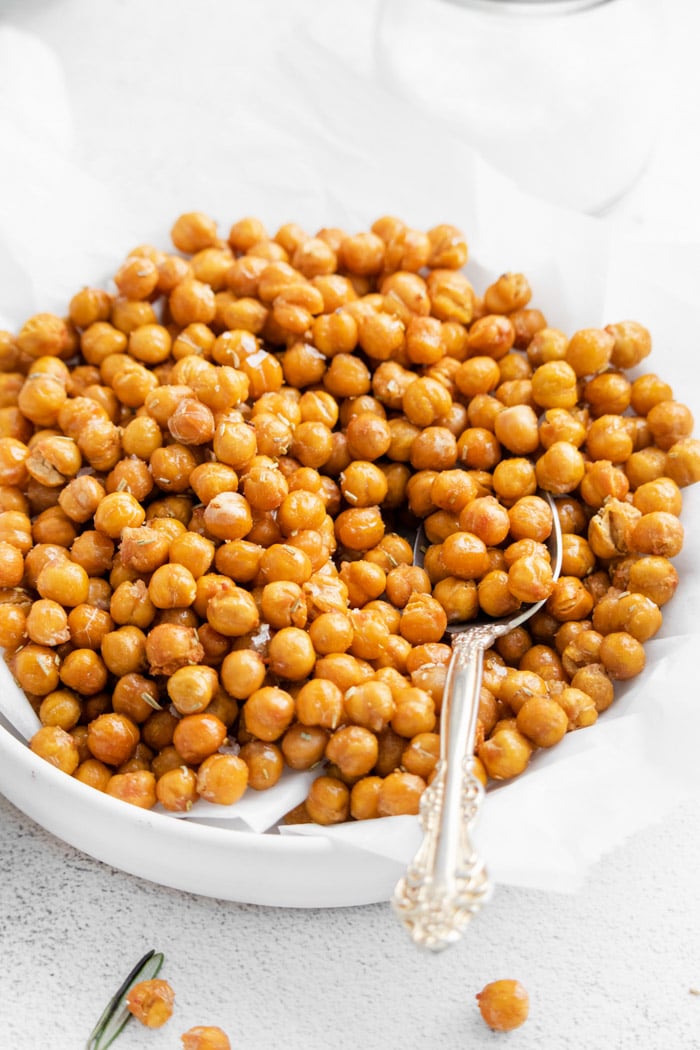
- Let cool slightly and ENJOY! To store leftovers, let cool completely and then place them in an airtight container. Store at room temperature.
Notes
Nutrition
Nutrition information is automatically calculated, so should only be used as an approximation.


Hi Brita,
I have an air fryer setting on my oven-would the temperature and time be the same?
thanks.
Blessings~
I actually have a blog post for this! https://foodwithfeeling.com/oven-roasted-chickpeas/